Class 9: Networking
Here's the link to test my online buzzer piano!
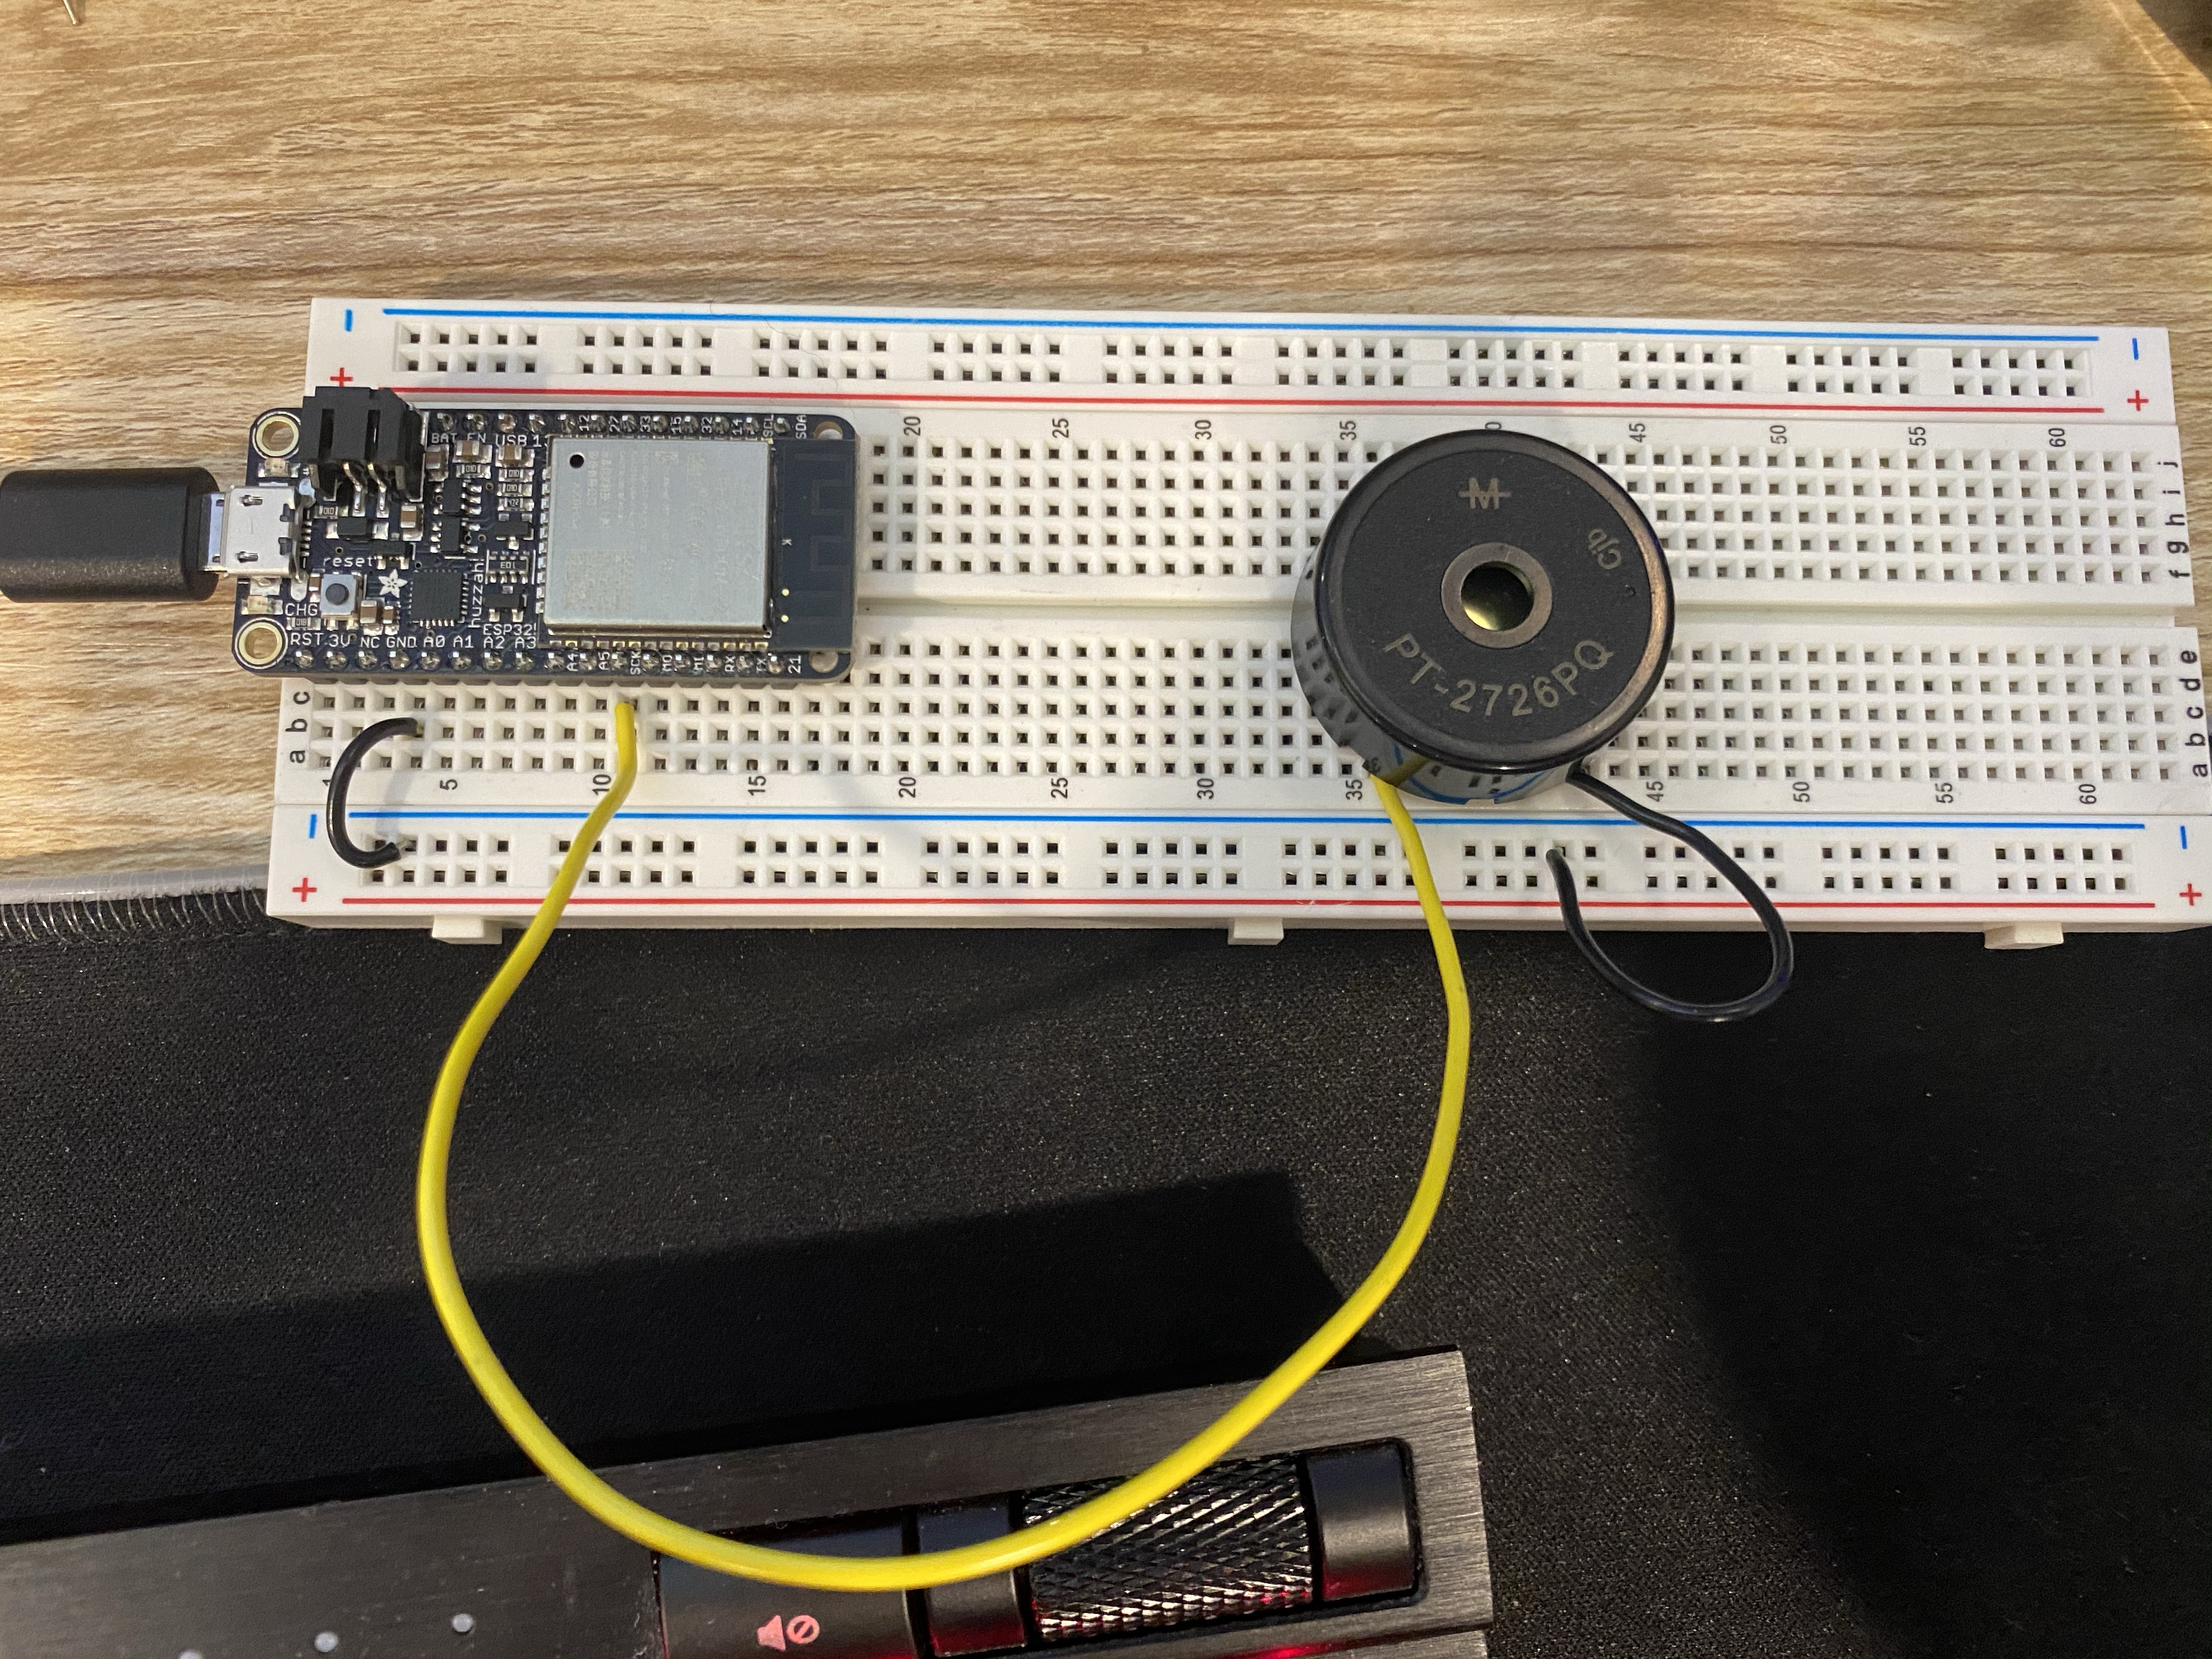
The assignment for this class was to control a board from a local wireless network, and I also had to program a microcontroller to obtain and respond to information from the internet. As in the past few classes, I wanted to work some aspect of a piano into my assignment, again using the buzzer. I first modified the LED and Huzzah circuit to implement a buzzer plugged into ground and pin 5. The circuit looked like this:
After setting up the circuit, I re-followed Nathan's Firebase tutorial to set up a new project for my buzzer. Once through with the tutorial, I edited the Arduino code I had used for the Firebase LED exploration to work with my buzzer idea. I first added in the constants for the note frequencies using my past assignment for Output Devices. In the loop function, I had a series of if/if else statments checking the current status of the note string (ie. if it was "C", or "D", etc.). Based on the status of the string, it would play a certain note for 500 ms using the myTone() function, as the tone() function didn't work with the Huzzah. It was after testing this that I ran into my first issue: the loop never changed the string back to "" after playing the note, meaning that the selected note was playing on repeat, which was not what I wanted. I worked with Nathan in the lab time to fix this, and we came up with the solution of setting the firebaseData string back to an empty string as soon as the note had been played. The note playing code ended up looking like this (C note as an example):
      if (fireString == "C") {          //Compare the input of note status received from firebase
        Serial.println("Note is C");
        myTone(buzzerPin, c, 500);      //Play C for 500 ms
        Firebase.set(firebaseData, "/NOTE_STATUS", "");
      }
Once I finished testing this code to make sure it worked directly on the Firebase website, I moved on to making the website version with HTML and JavaScript. I again edited the Firebase LED code that I had for the other website. The first thing I did was change the on/off buttons to buttons corresponding to piano notes. I ended up changing that again later, so I'll go into more detail about that soon. I then edited the JavaScript code to work with the buttons and buzzer. I haven't had any prior experience with JavaScript, so I made sure to study the Firebase LED code to learn more about JavaScript so I could make sure to implement it correctly. I changed the document.getElementById().addEventListener() lines to work with each note, and then added JS functions to play each note. The functions actually changed the note status to a different note, which used the Huzzah to play that note on the buzzer. Here's an example of the JS (again, just using C as an example)
      // Get a database reference to our blog
      var ref = firebase.database().ref("/");

      // make the buttons call the function below
      document.getElementById('C').addEventListener('click', playC, false);

      function playC(){
        console.log("Playing C");
        ref.update({
          "NOTE_STATUS": "C"
        });
      }
I tested this with the website, and it worked! But I didn't like how the notes were just buttons on the screen. So I used Inkscape to create each note, and replaced the buttons with the images. I had no idea how to use Inkscape, but I took a Photoshop class in school and the two were pretty similar. It took some exploring, but I was able to make each note successfully and used snipping tool to take picture of each. I originally tried putting the image tag inside the button tag, but it didn't look right. I then did some research and read this discussion from StackOverflow and figured how to make an input of type image, which worked well. The image button code ended up looking like this (C and C sharp for example):
        <input type="image" src="./C.PNG" name="C" id="C"  style = "float: left; width: 6%; padding: 5px" height = "400">
        <input type="image" src="./Sharp.PNG" name="C#" id="C#"  style = "float: left; width: 6%; padding: 5px" height = "250">
Update: It took me a while to figure out how to display the HTML code without actually making the buttons. I read this discussion from StackOverflow, which showed me that if I replace the < with & l t ; (spaces beacuse otherwise it turns into <)and > with & g t ;. I tried that, and it worked! I learned a lot about HTML doing this, as I had originally assumed that I could just used the <pre > and <code> tags to bypass the button's HTML code, but it didn't work. It's interesting to see how just a few seemingly random characters were the answer.
In the end, I thought this looked a lot better! I learned a lot about how buttons and Firebase and using the Huzzah over the internet through this explorations. I had no idea how to do any of this before, and I just kept saying "this is so cool" each time I tested the website and it worked. Here's the result: